Photoshop Tools and Tips
Before I start with selective tools, I will make another global adjustment not available in Camera RAW.
Levels
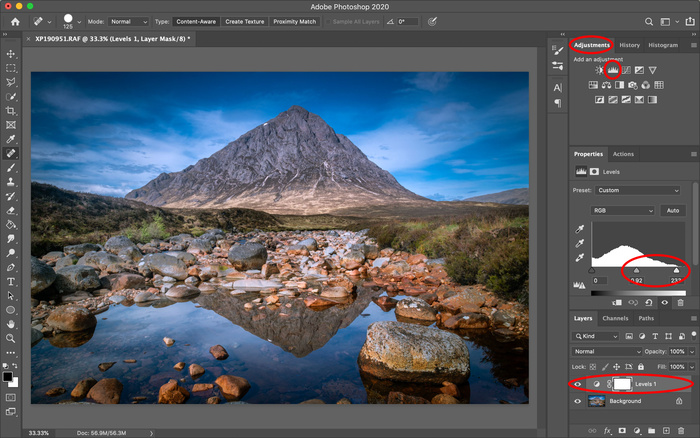
This is yet another way of adjusting contrast and tends to be my go to method of producing that little bit of extra POP to the image. When the file comes in from Camera RAW (or Lightroom), the histogram should look similar to the one above, with no lost shadows or blown-out highlights. Ideally, there should a little bit of room to play with, especially at the right-hand side (highlights).
In the Levels adjustment, I tend to close up the right-hand side by moving the slider left to the point where it meets the bottom of the curve. I then move the middle slider slightly to the right, usually to somewhere between 0.95 and 0.90. Any of these adjustments are really a matter of personal taste, but in essence they are making a more controlled re-introduction of contrast that was removed in Camera RAW when Highlights and Shadows were adjusted.
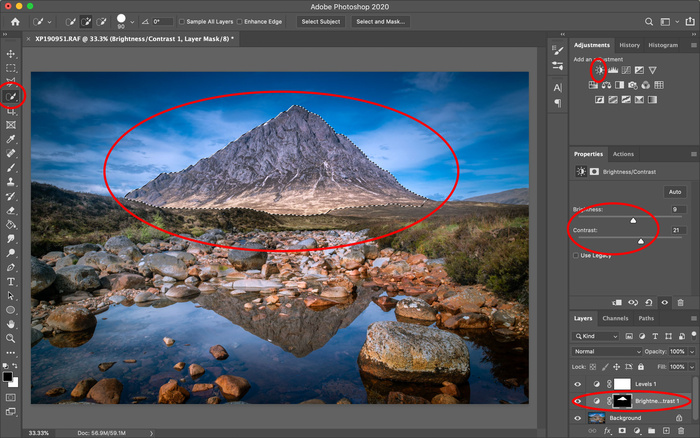
Selection
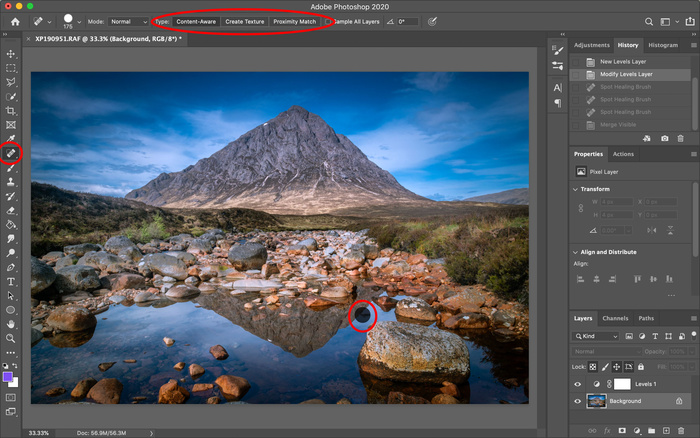
Spot Healing Brush
Clone Stamp
Erase
Paint Bucket
Blur / Sharpen / Smudge
Dodge / Burn
Text
Hand
Set Color
Levels
This is yet another way of adjusting contrast and tends to be my go to method of producing that little bit of extra POP to the image. When the file comes in from Camera RAW (or Lightroom), the histogram should look similar to the one above, with no lost shadows or blown-out highlights. Ideally, there should a little bit of room to play with, especially at the right-hand side (highlights).
In the Levels adjustment, I tend to close up the right-hand side by moving the slider left to the point where it meets the bottom of the curve. I then move the middle slider slightly to the right, usually to somewhere between 0.95 and 0.90. Any of these adjustments are really a matter of personal taste, but in essence they are making a more controlled re-introduction of contrast that was removed in Camera RAW when Highlights and Shadows were adjusted.
Selection
Spot Healing Brush
Clone Stamp
Erase
Paint Bucket
Blur / Sharpen / Smudge
Dodge / Burn
Text
Hand
Set Color